A Vaishnava print clothing brand that went open: 30+ original prints on tees, sweatshirts, totes and posters, a lookbook and promo, a Tilda site with free downloads — and a browser 3D fitting room (React Three Fiber + a Blender script that cuts garments from the body along the bones).
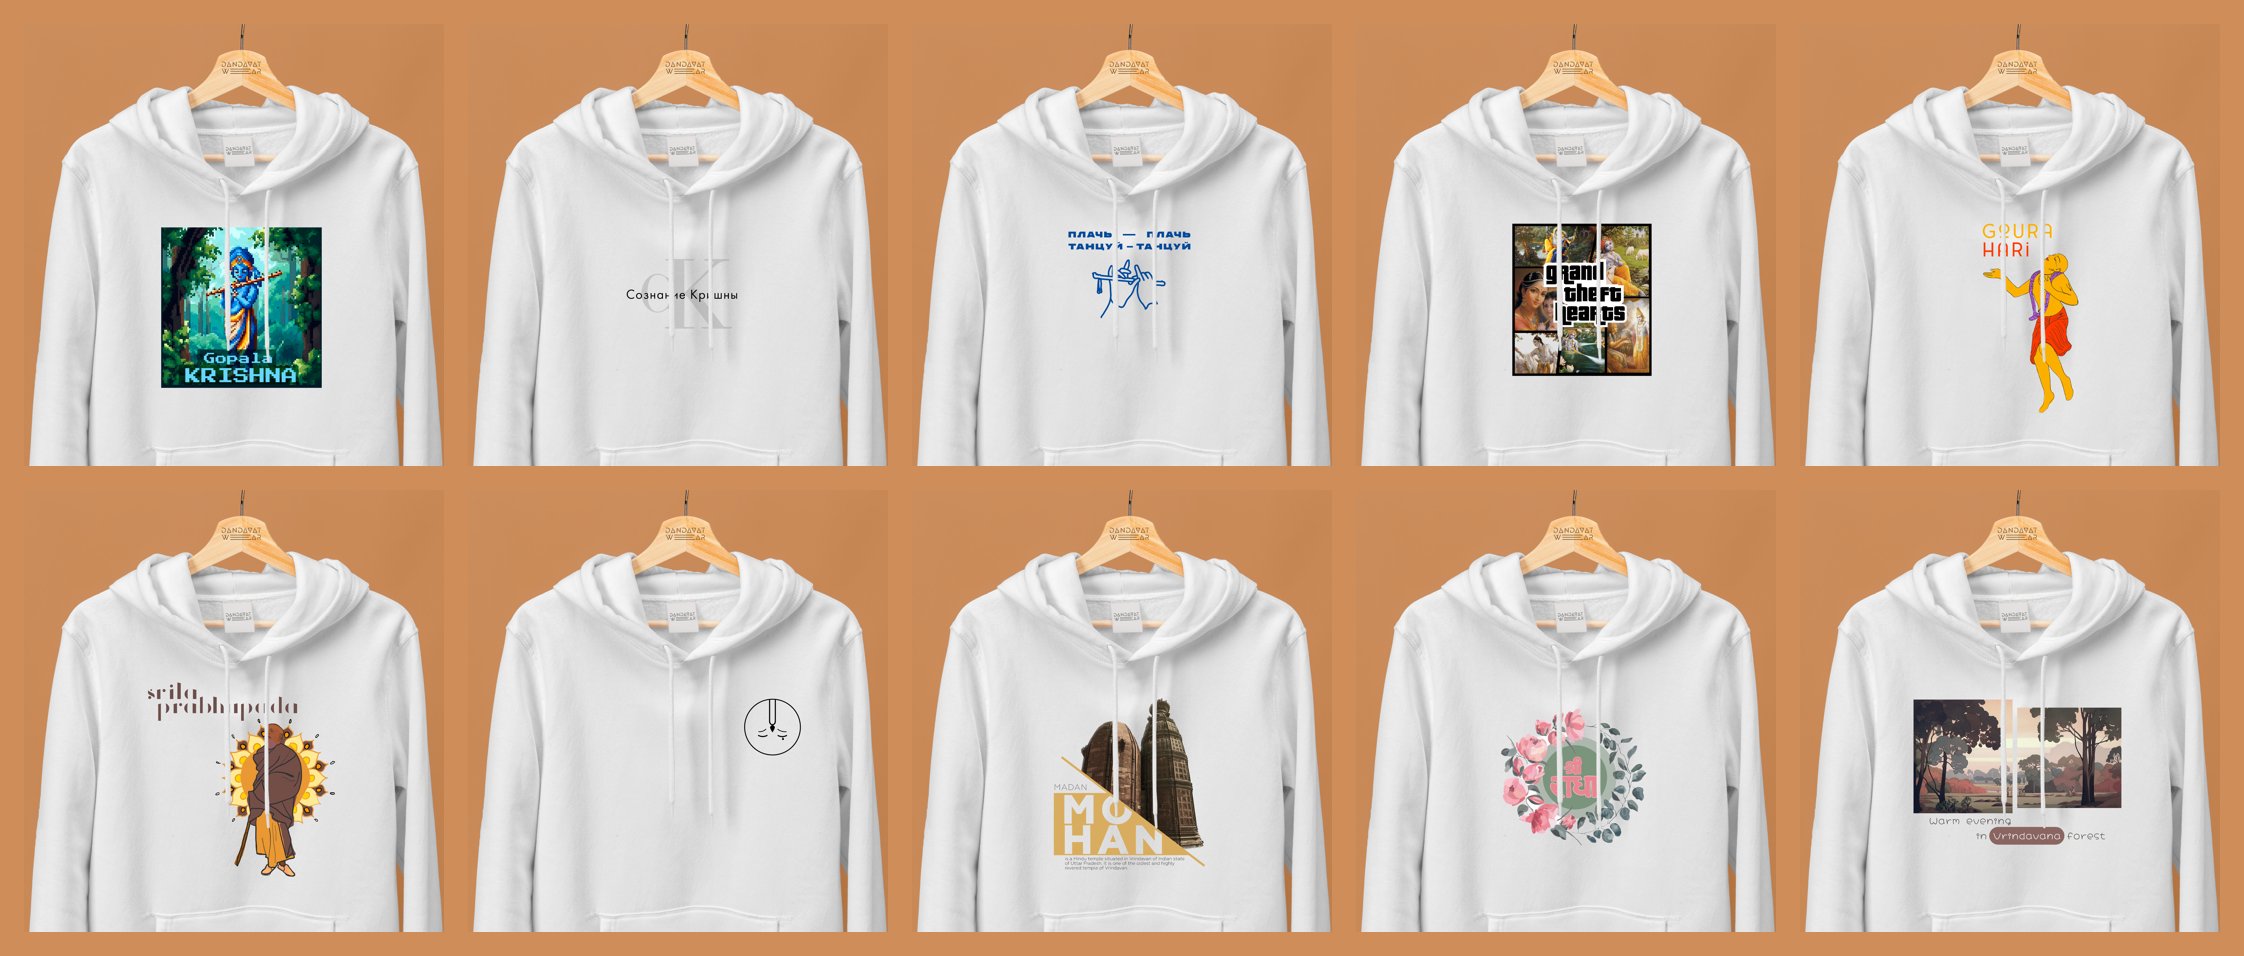
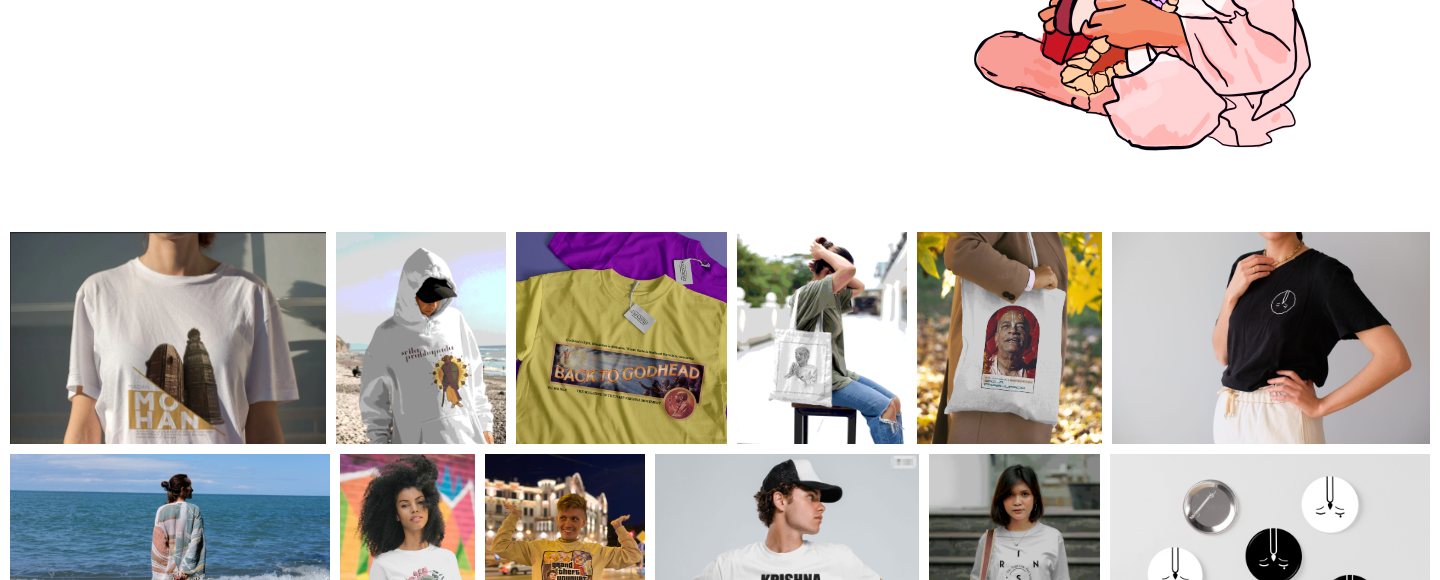
Dandavat Wear is print clothing at the intersection of Vaishnava philosophy and contemporary visual culture: elegant minimalism, pop-culture quotes (GTA, Calvin Klein, Friends, 8-bit) and Vedic imagery — Goura Hari, Madana-Mohan, Srila Prabhupada, Radhe. Over 30 original prints, each on several carriers: tee, sweatshirt, tote, poster, phone case, sticker.
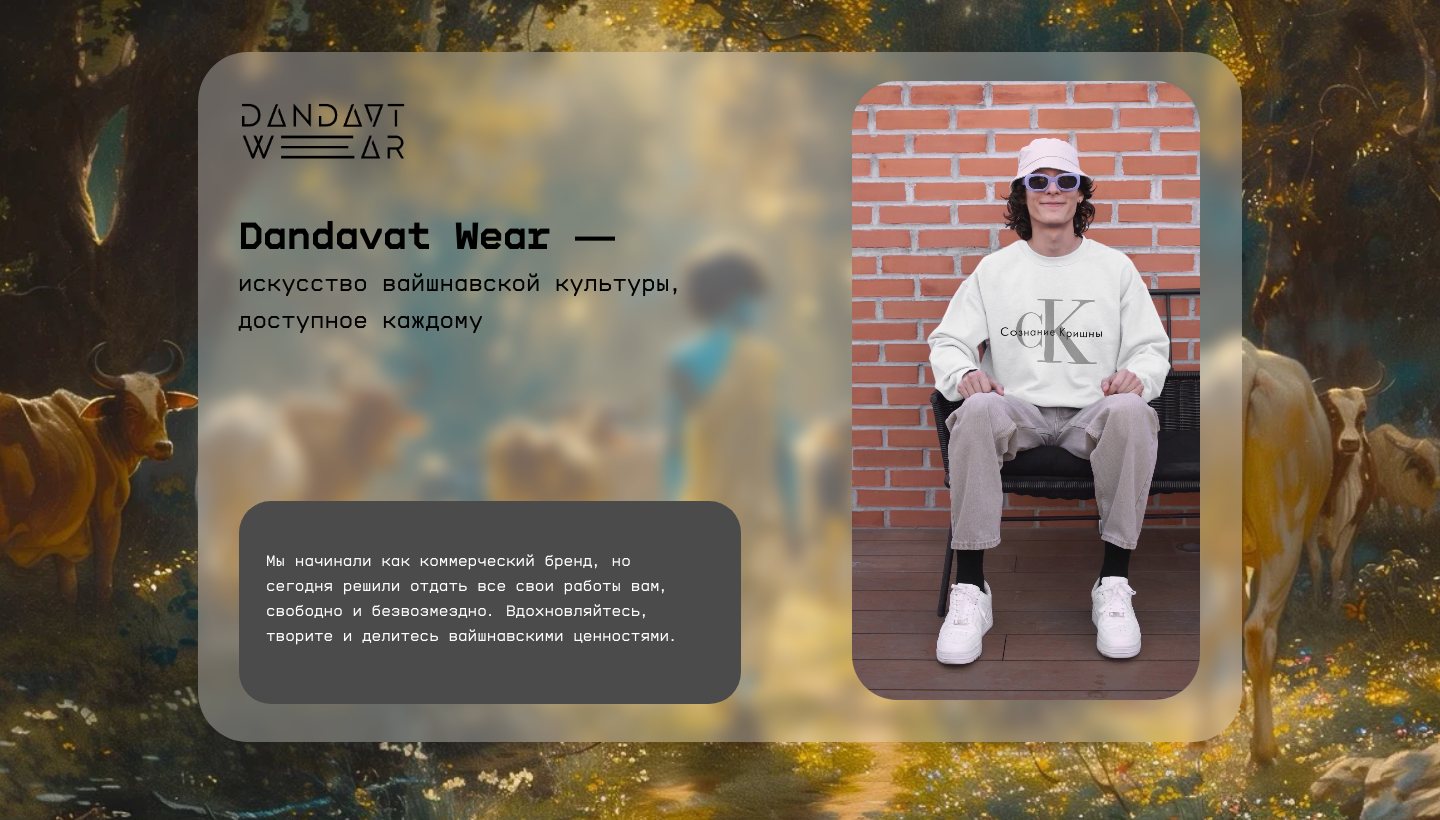
"The art of Vaishnava culture, available to everyone."
[ SYS_IMAGE_LOAD ] Prints on sweatshirts: Gopala Krishna, CK "Krishna Consciousness", GTA, Goura Hari, Prabhupada, Madana-Mohan, Radhe, Vrindavan
02: The Print as a System
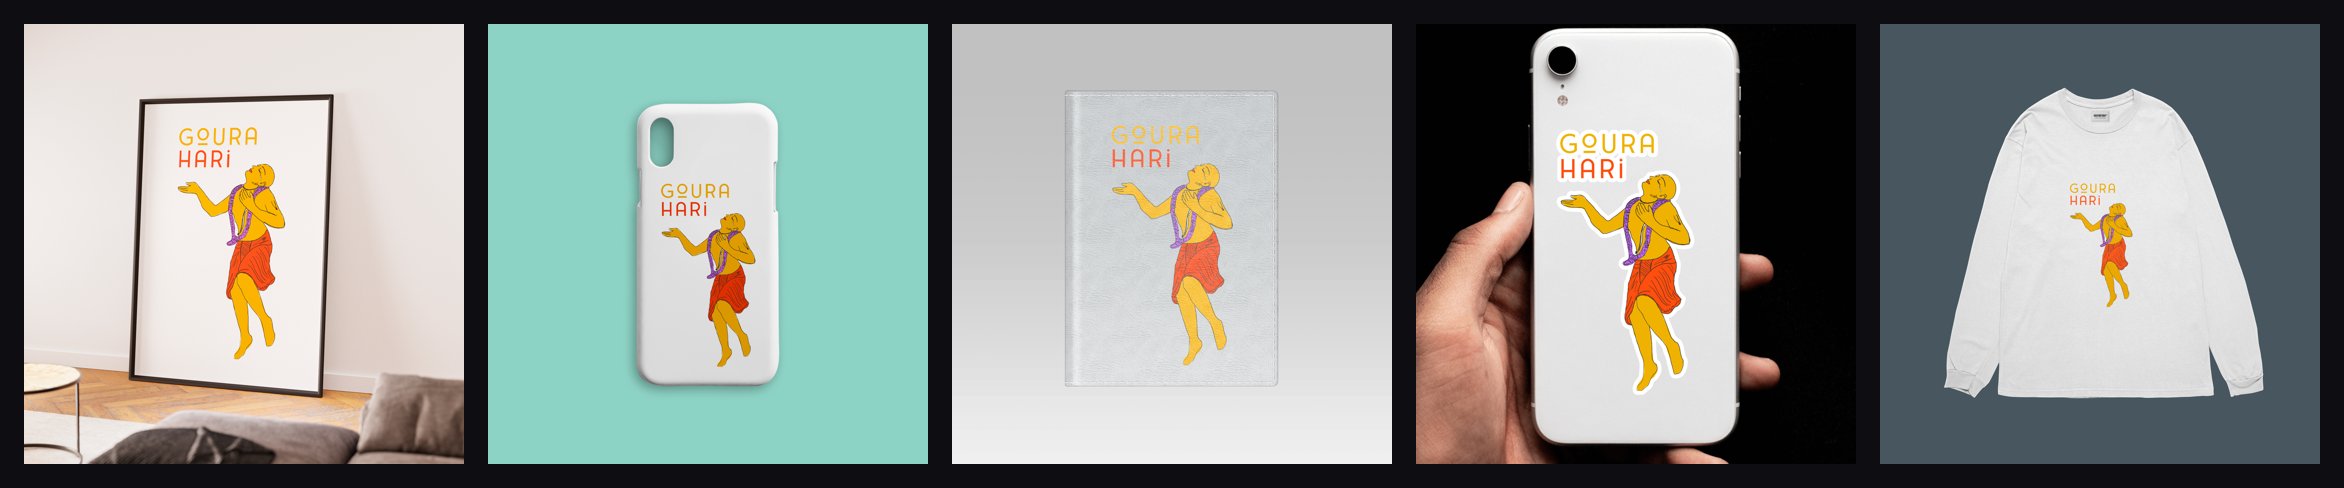
Each print is designed not for one item but for a line: the same image works on a tee, a longsleeve, a framed poster, a phone case, a passport cover and a sticker. Vector prints recolour to the fabric; raster ones keep their own colours.
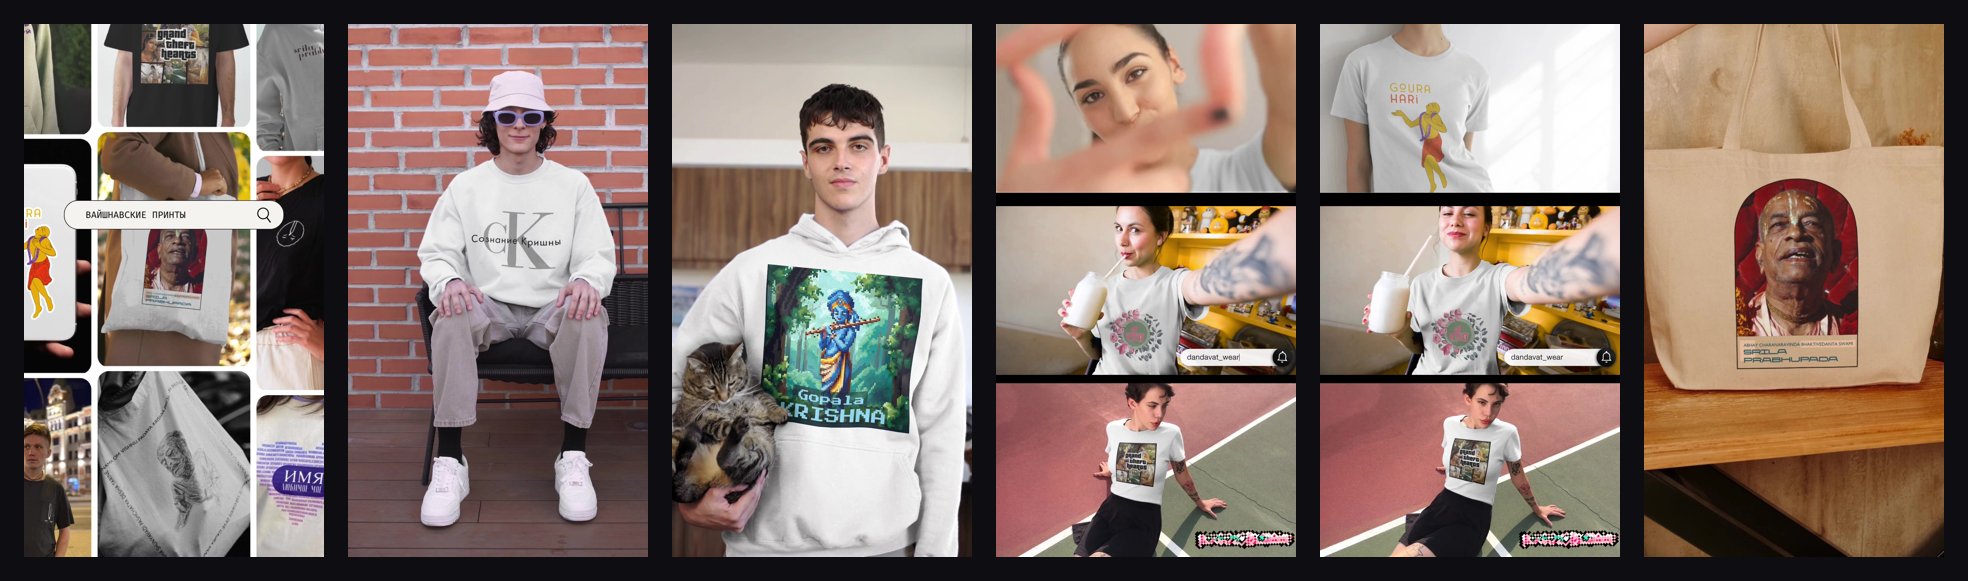
Mockups and real photos share one visual language: white fabric, a large print, the street. For social media — short video mockups and a vertical promo clip.
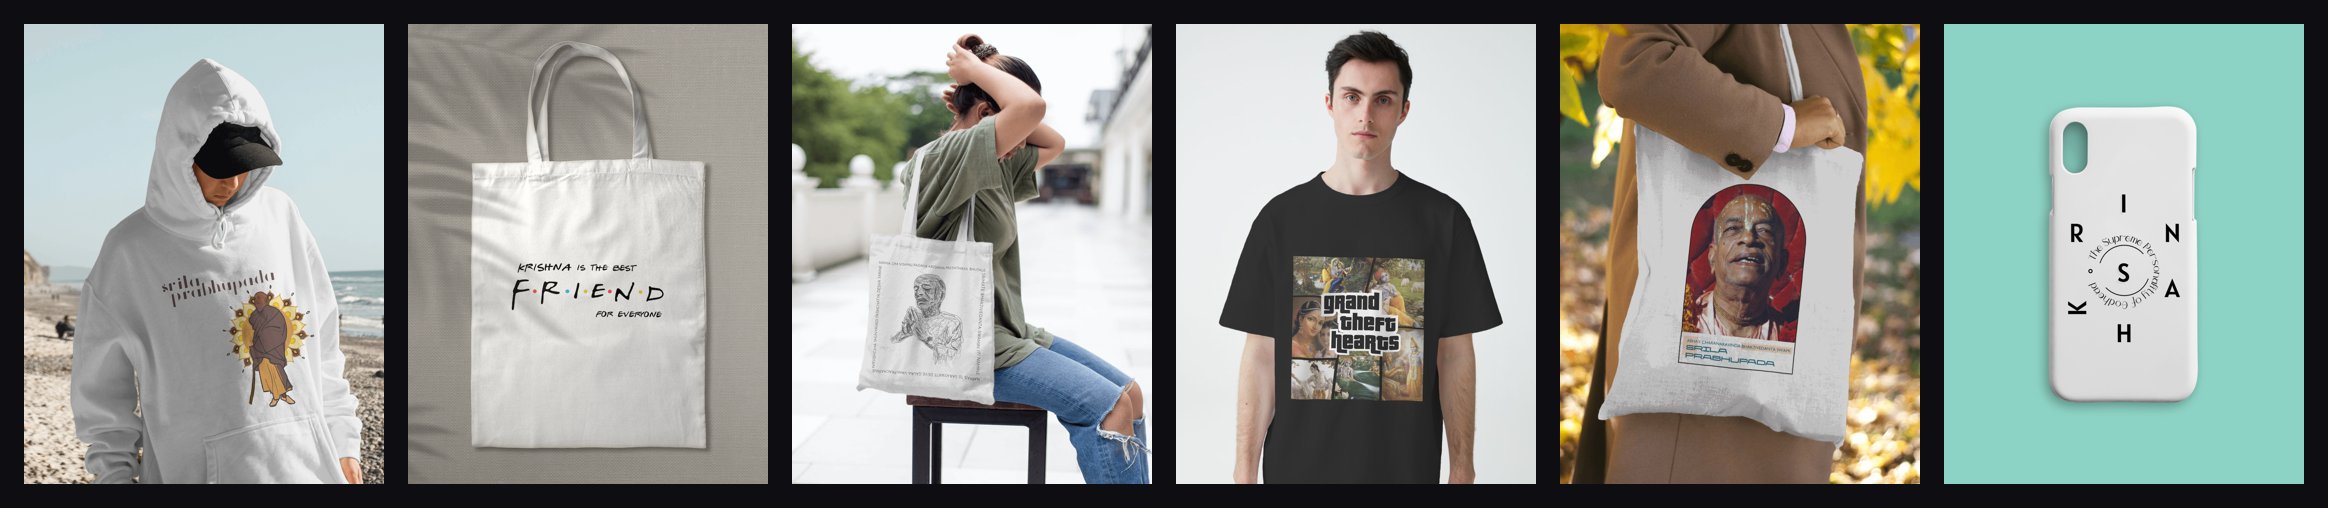
[ SYS_IMAGE_LOAD ] Lookbook: "Srila Prabhupada" hoodie, "Friend" tote, GTA "Grand Theft Hearts" tee, "Krishna" phone case
[ SYS_IMAGE_LOAD ] Frames from the promo clip
04: From a Commercial Brand to Giving
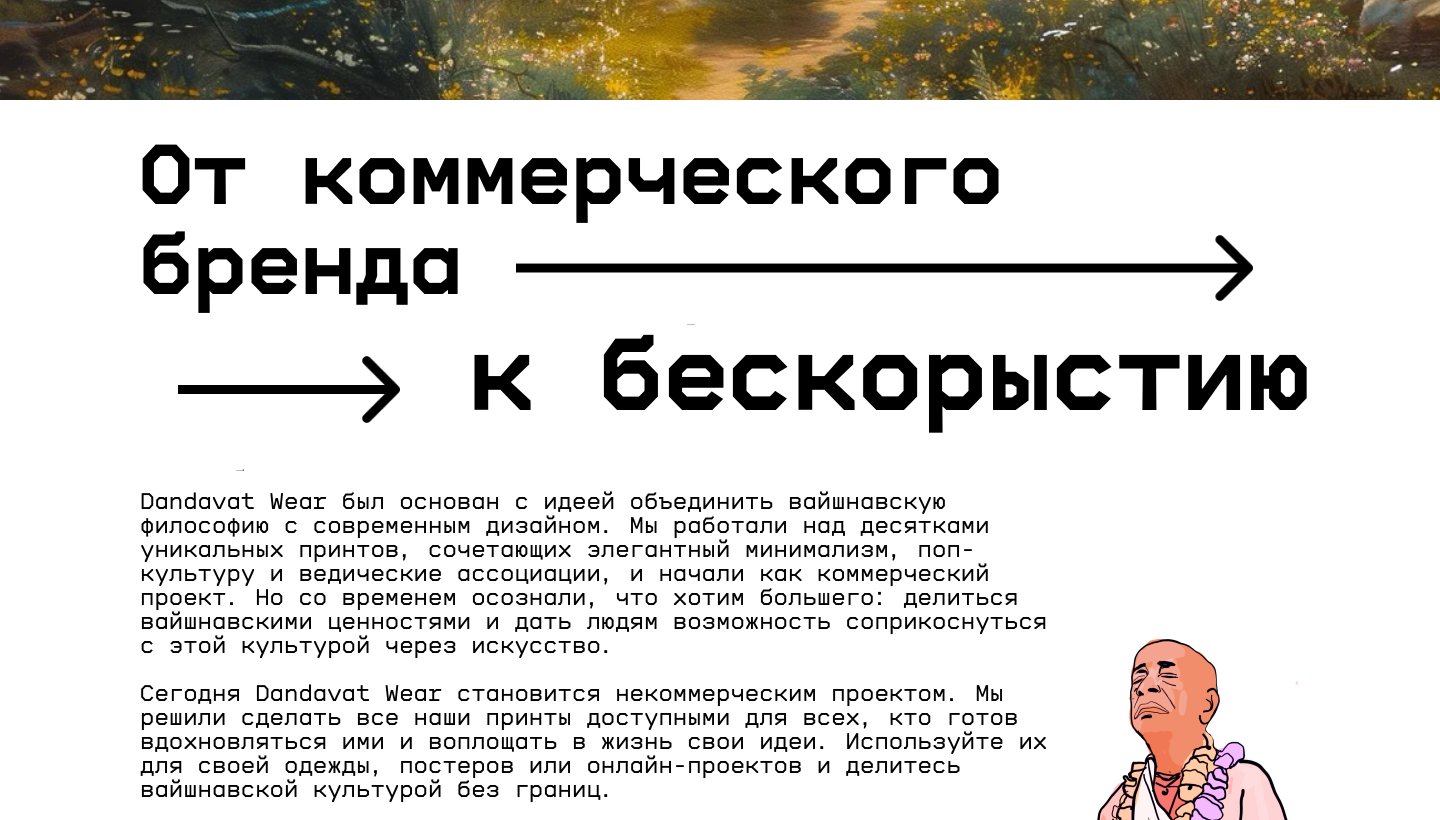
The project started as a commercial brand. Over time it became clear that the goal wasn't selling tees but sharing Vaishnava culture through art. Dandavat Wear went non-commercial: every print is published openly on Yandex.Disk — for your own clothing, posters and online projects. Those who want a finished item order from a partner; those who use the prints commercially let us know and, if it feels right, make a symbolic donation.
The project's Tilda site tells this story: a manifesto, a mosaic of video mockups, print downloads, support.
[ SYS_IMAGE_LOAD ] Site: "Dandavat Wear — the art of Vaishnava culture, available to everyone"
[ SYS_IMAGE_LOAD ] Site: "From a commercial brand — to giving"
[ SYS_IMAGE_LOAD ] Site: mosaic of video mockups
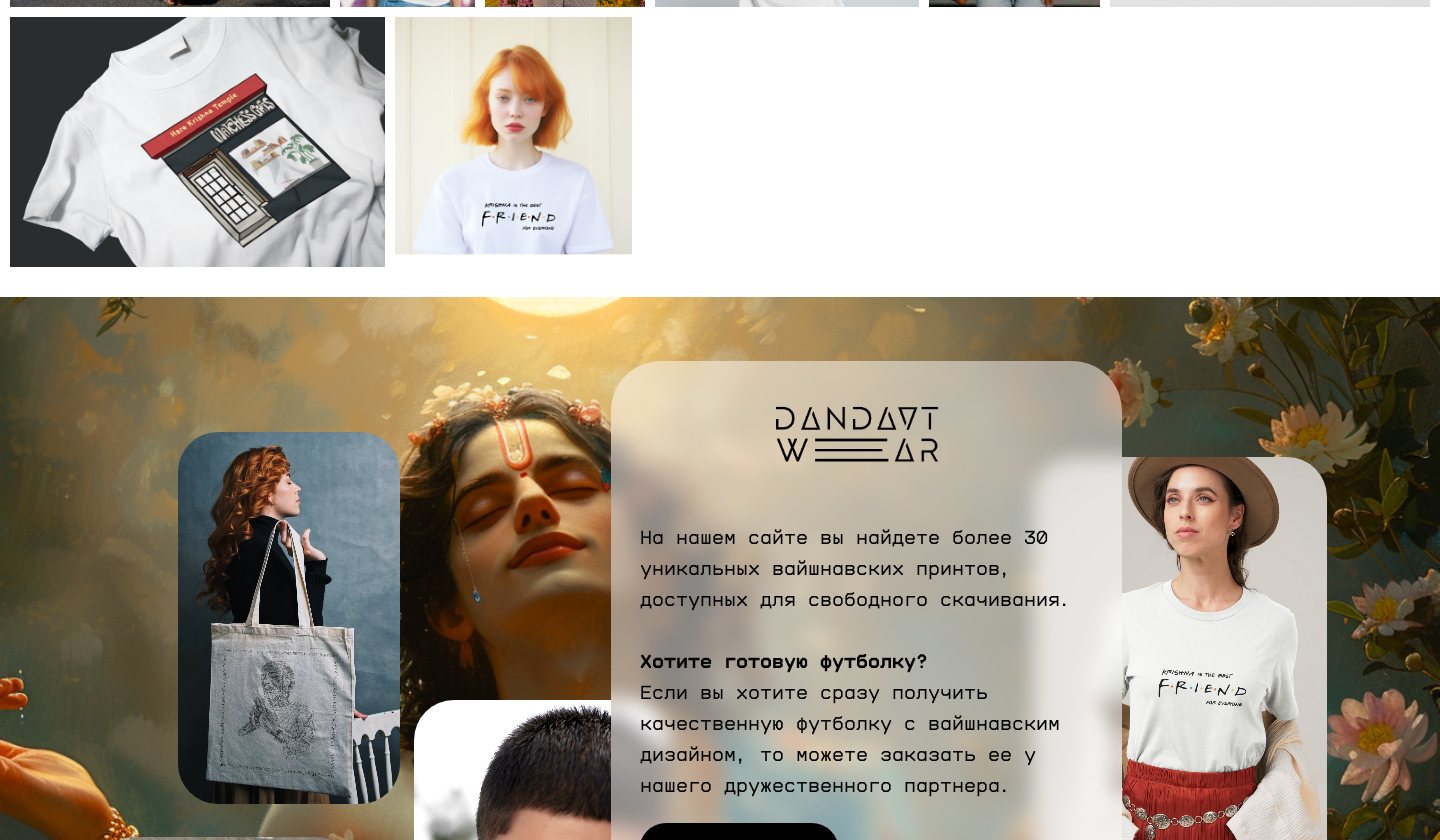
[ SYS_IMAGE_LOAD ] Site: collage and the partner tee offer
05: Why a Fitting Room
The brand has dozens of prints and a few base garments, each printed on any fabric colour. Photographing every combination is impossible — there are hundreds, and printing is on demand. So the next step was a web app where any "garment × colour × print × ink" set is assembled on the fly, in 3D.
06: The Virtual 3D Fitting Room
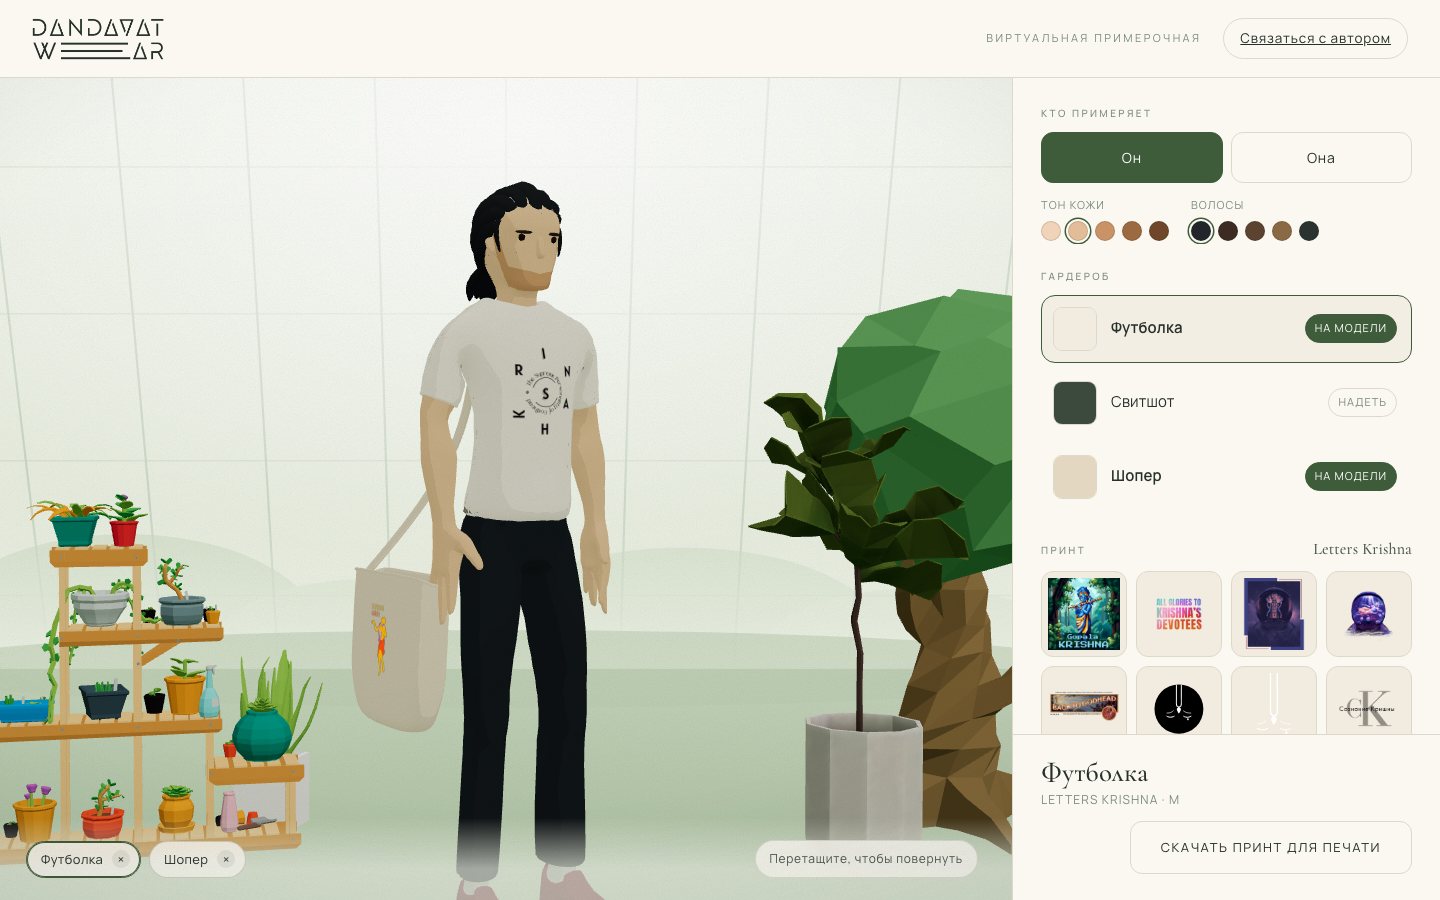
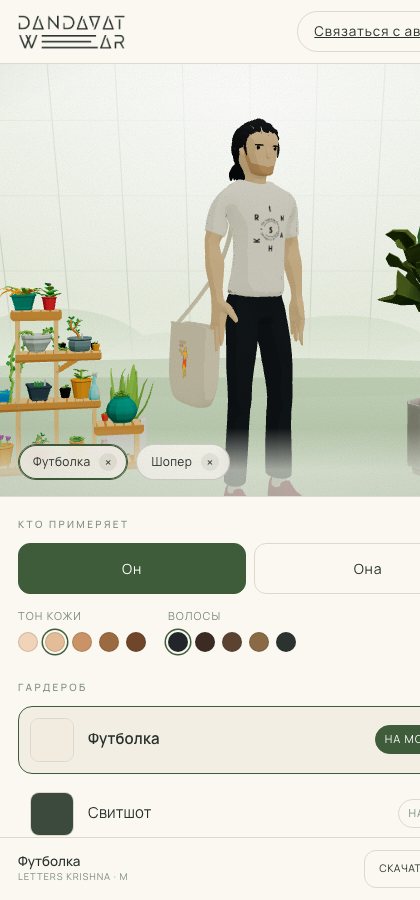
An interactive fitting room for a small clothing brand with original prints. The shopper picks a character, dresses them in a tee, sweatshirt or tote bag, changes fabric colour, print and ink colour — and immediately sees how the garment fits and how the print sits on the cloth: in 3D, with live animation and camera orbit. Runs in the browser, phones included, nothing to install.
[ SYS_IMAGE_LOAD ] The fitting room: character, wardrobe, print grid
07: Character and Clothes — from Blender, but Not by Hand
The core difficulty of any dress-up is fit. Off-the-shelf garment models never match the body, and AI-generated models arrive as one baked mesh where the tee can't be removed or recoloured.
"Garments are cut straight out of the body along the bones. The pattern already carries skinning weights and animates with the figure — no weight transfer, no fitting."
I wrote a Python script for Blender that cuts garments from the body mesh. Pattern boundaries are defined by anatomy — the positions of shoulder, hip and wrist bones — rather than a weight threshold, so the edge comes out clean. One script builds GLBs for the male and female figures with tee, sweatshirt, pocket, tote bag and strap.
# tools/blender/build.py — pattern boundaries come from the skeleton, not from weights
hips  = bone('Hips')  or Vector((0, 0, Z0))
neck  = bone('Neck')  or Vector((0, 0, Z1))
elbow = bone('LowerArm.L') or Vector((-HALF * 0.45, 0, 0))
wrist = bone('Wrist.L')    or Vector((-HALF * 0.85, 0, 0))

# torso width is measured from the shoulder bones: at chest level in the bind pose
# the spread arms sit there and vertex measurements lie
sh_l, sh_r = bone('Shoulder.L'), bone('Shoulder.R')
torso_half = abs(sh_l.x - sh_r.x) / 2 * 1.25
The tote is built as a real pattern rather than a box: open top with a folded hem, flat rounded sides, the rim sagging between the handles. The strap passes over the head of the UpperArm bone — the shoulder joint, not the collarbone — otherwise the strap emerges from the armpit.
Export was optimised along the way: the frame range limited to a single rest clip (export roughly 200× faster) and subdivision removed from garments — it added 85% of the vertices and doubled the file size while changing nothing visually.
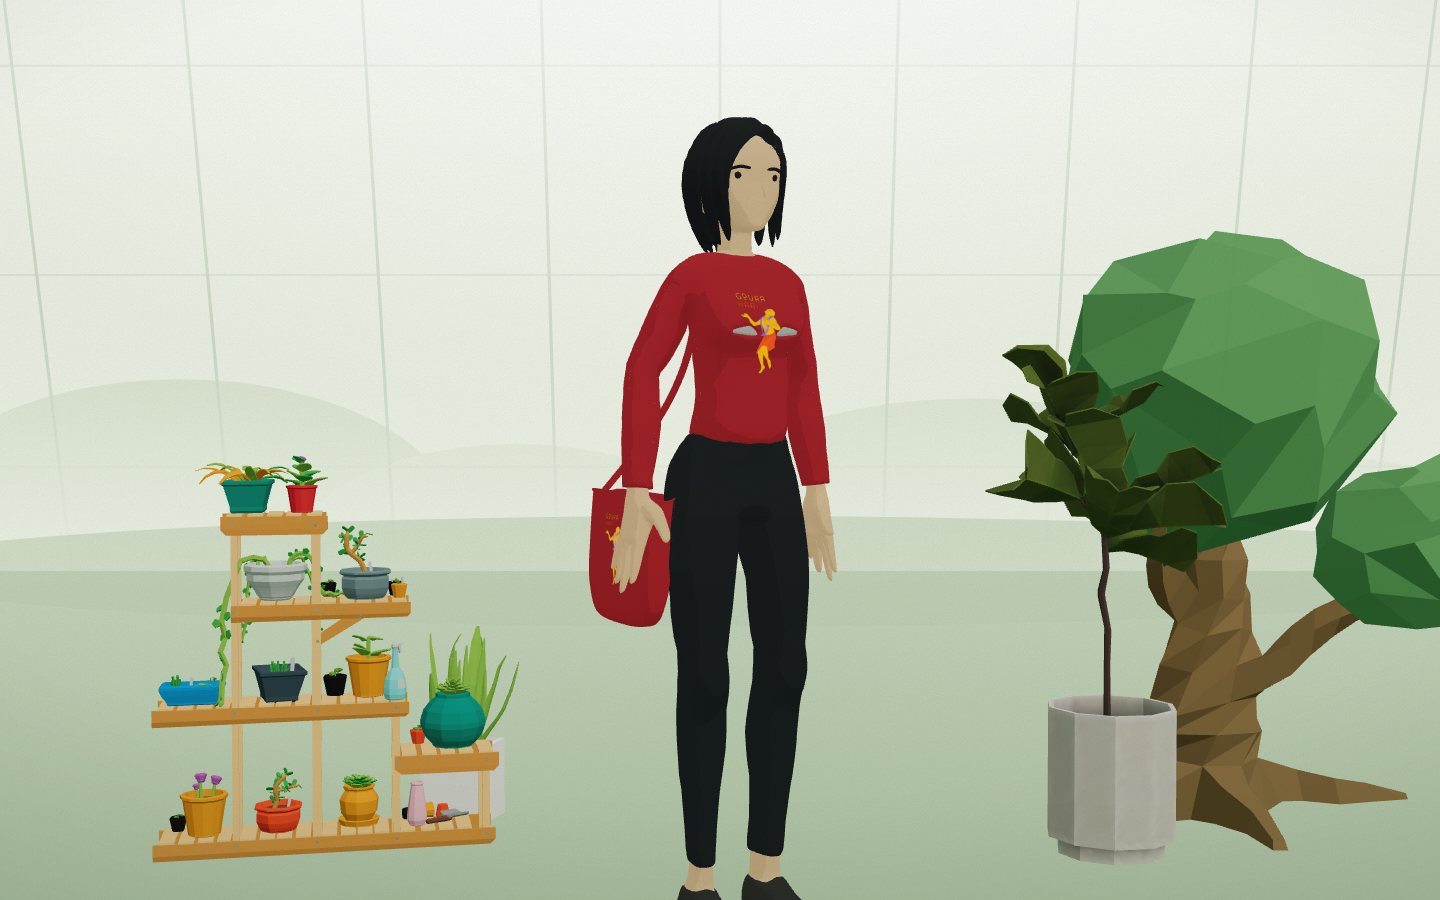
[ SYS_IMAGE_LOAD ] Female figure: sweatshirt and tote, red fabric
08: Fabric and Print — a Procedural Texture
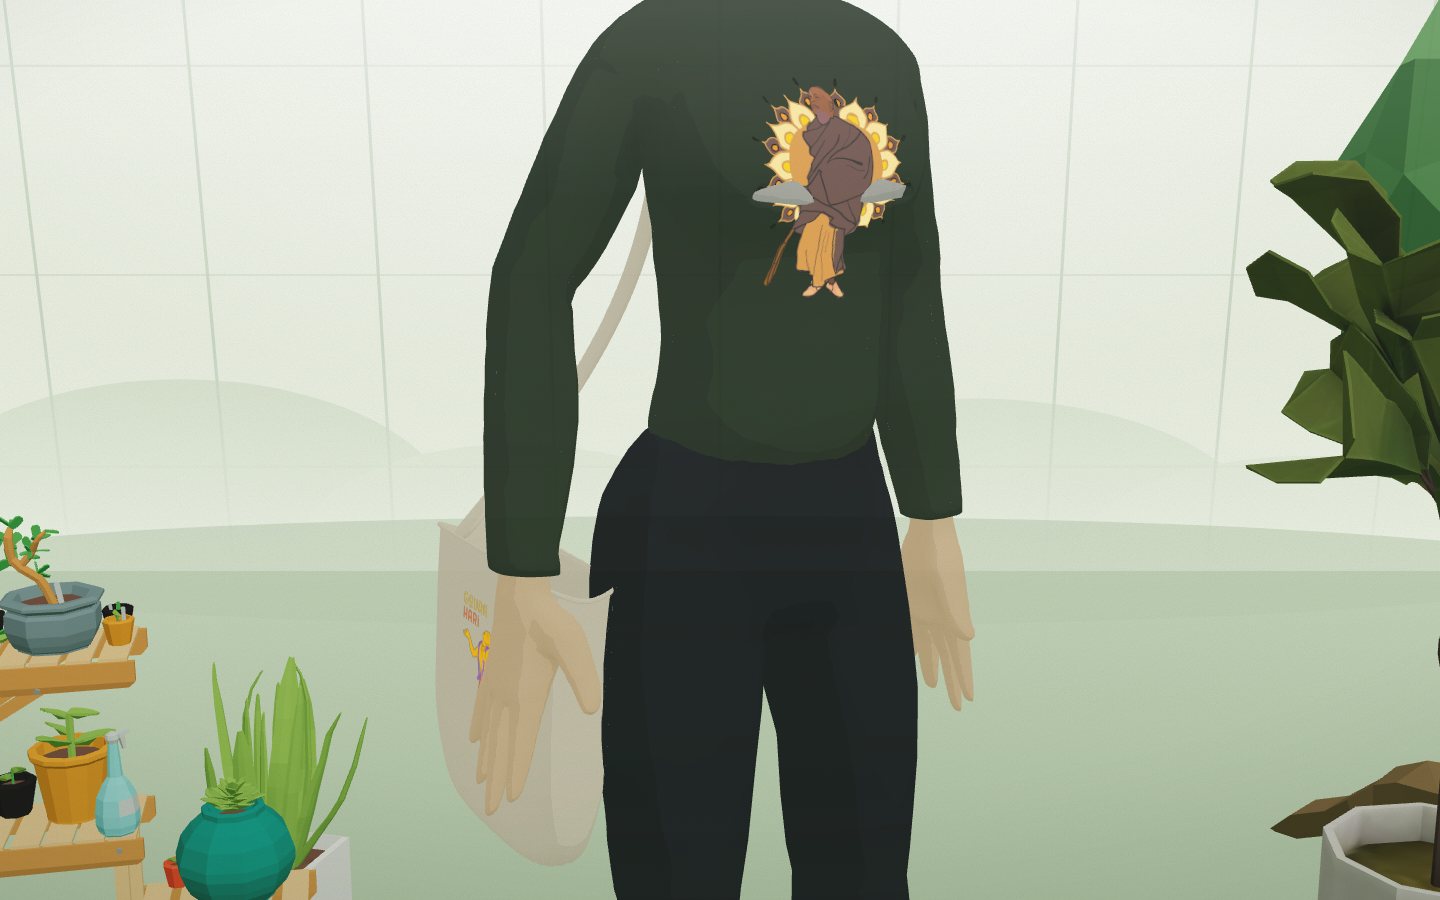
Garments in the model are a neutral light tone. At runtime a texture is drawn on a canvas: a fill in the chosen fabric colour, then the print fitted into a designated area of the UV layout (chest, bag panel) or repeated as a tile. The texture maps onto the mesh UVs. Folds and shading come from a toon shader, so the print "lies" on the cloth rather than looking like a sticker. Changing colour or print is instant, with no model reload.
[ SYS_IMAGE_LOAD ] Close-up: a raster print curving over the sweatshirt chest
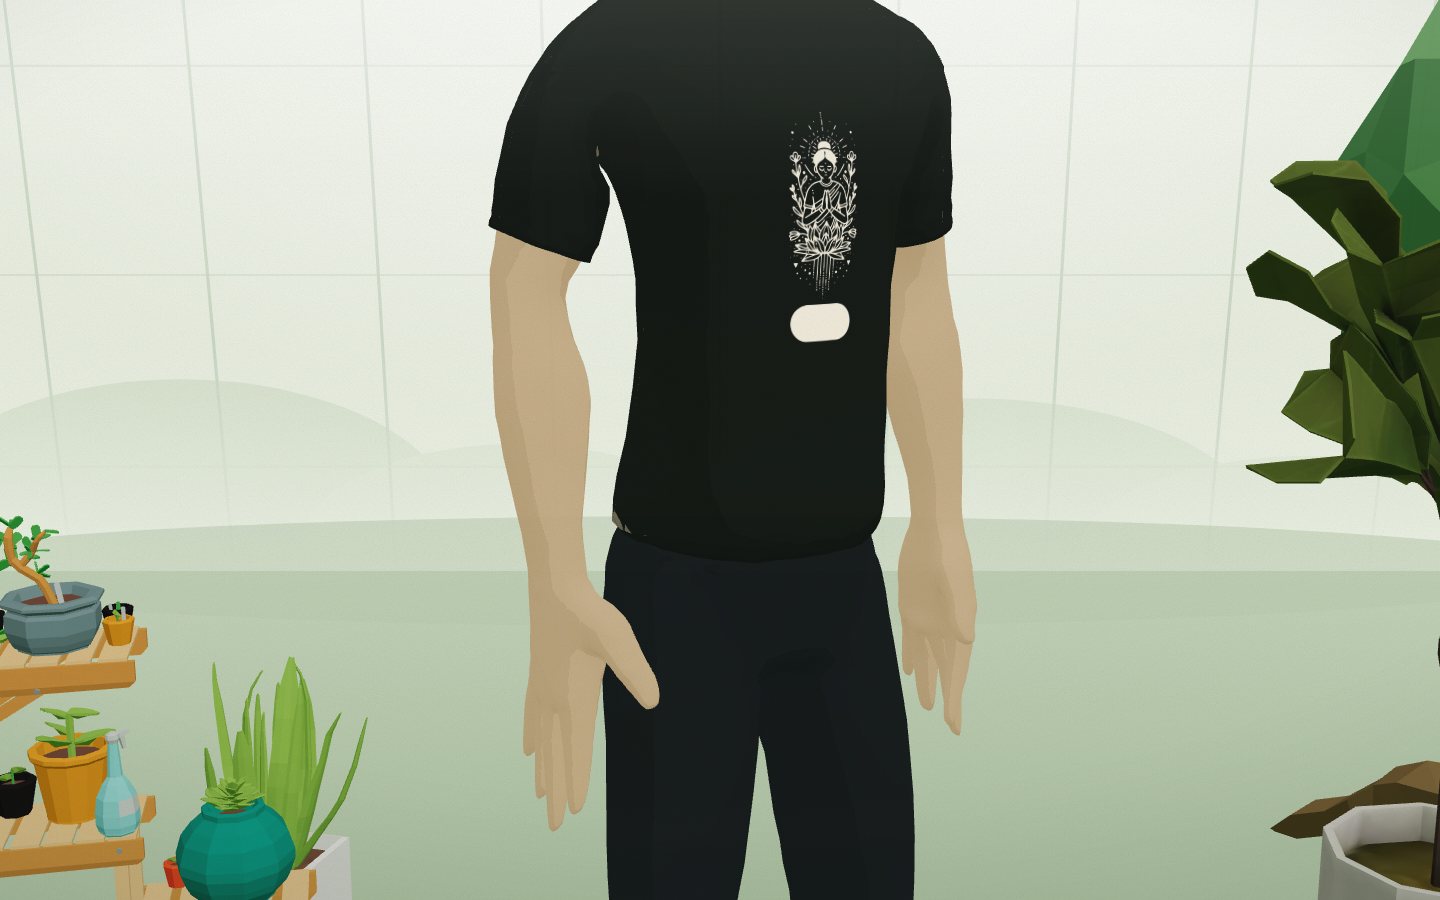
[ SYS_IMAGE_LOAD ] A vector print recoloured to cream on a dark tee
09: A Print Catalogue Without a Developer
Prints live in public/prints/. The file name defines behaviour: mandala.png is a single centred print, paisley.tile@90.png a repeat with a 90-unit tile. Russian titles sit in one JSON. npm run prints builds the catalogue, optimises rasters to WebP and generates the manifest. Built-in vector prints recolour to any ink colour; rasters keep their own colours.
10: Quality Control
Fit defects are invisible in the wide shot, so the app has a built-in QA mode: a link like /?qa=torso&who=girl&wear=hoodie,tote&print=…&fabric=… hides the UI and puts the camera in close-up on the required zone. A scenario is reproduced by URL, not by clicking — which made it quick to catch and fix things like blotchy shading on the chest or short sleeves.
// ?qa=torso|head|bag — close-up; who / wear / print / fabric / ink define the set
function scenario(base) {
  const q = new URLSearchParams(location.search)
  if (!q.has('qa')) return base
  const next = { ...base, items: { ...base.items } }
  if (q.get('who')) next.gender = q.get('who')
  const on = new Set((q.get('wear') || '').split(','))
  for (const k of Object.keys(next.items)) next.items[k] = { ...next.items[k], on: on.has(k) }
  return next
}
11: Mobile
The selection panel was reworked for phones: a compact row of CTAs instead of a stack of buttons, redundant toggles removed so the print grid and set parameters fit on screen.
[ SYS_IMAGE_LOAD ] Mobile version of the fitting room
12: Stack
React 19, React Three Fiber, drei, Three.js, Vite
Canvas 2D for runtime texture generation
Blender + bpy — model and garment build script
Node scripts (sharp) for print processing, oxlint
13: Outcome
Any combination of garment, fabric colour, print and ink colour — one click, in 3D, with camera orbit
Two figures, three garments, 35 prints; a cap and a phone case are wired into state and await models
The brand owner adds prints themselves — a file in a folder
From the fitting room — a direct path to downloading the print for production and to contacting the author
Role: everything from brief to production — product logic, the Blender 3D pipeline, rendering and shading, UI, documentation and briefs for artists on character art and 3D generation.